Using wxBar
General information
After wxBar has been started, it hides in the background mode. For
showing of the bar you must move the cursor to the edge of the screen
(firmly), and click the right mouse button (the left side of the top
edge of the screen, the right side of the top edge and so on). The
program supports 8 separate bars - 2 of each side.
Screenshot of launcher bar has shown in the figure.
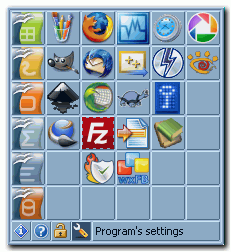
The bar can conditionally be divided into 2 area: working and service.
There are service buttons in the service area (program information,
call help, lock bar, settings), and a status bar (it is showing a
summary of the program over which the cursor button which is located).
There are buttons of the programms in the working area.
How to configure the button?
Setting manually
For the setting of buttons simply move the cursor to the desired button
and click the right mouse button. A dialog box will show:
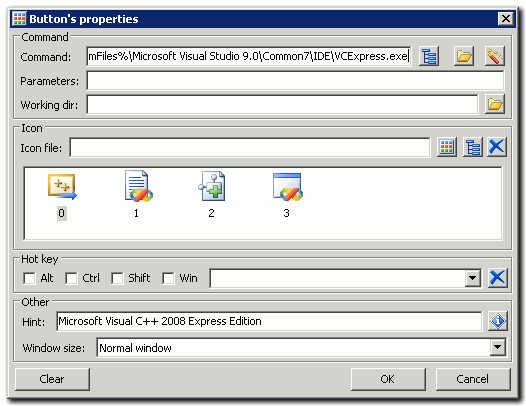
With the help of this dialog, you can set all the parameters of
this button. The function of the fields is obviously enough, I
explain some buttons:
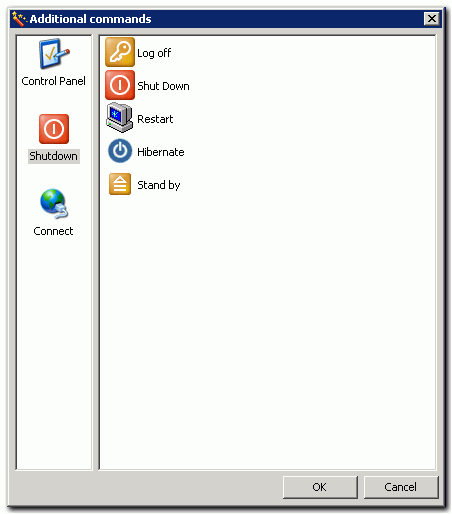
 activates the additional dialog of choosing of the additional commands;
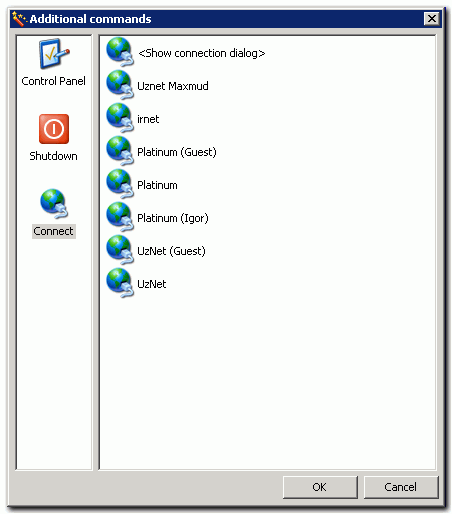
 installs the system set of icons (%SystemRoot%\System32\shell32.dll)
 receives information about the program from the program file (name, the
version number), and establishes this information as hints.
Unfortunately, not all programs add additional information to your
file, in such case as the hints will be used a filename.
receives information about the program from the program file (name, the
version number), and establishes this information as hints.
Unfortunately, not all programs add additional information to your
file, in such case as the hints will be used a filename.
Setting using Drag&Drop
You can simply drag your desired file (files) and throw it (them) at
the necessary bar. You can drag files from the File Manager (Windows
Explorer, Total commander, etc.), from the Start menu, from the desktop.
If you drag a group of files, the wxBar import all the files using the free buttons.
You can Drag&Drop existing buttons holding Alt key. You can move existing buttons as inside a one bar, as between different bars.
When you move existing buttons the source button and the target button are swap (content of target button isn't losts - it move into source button).
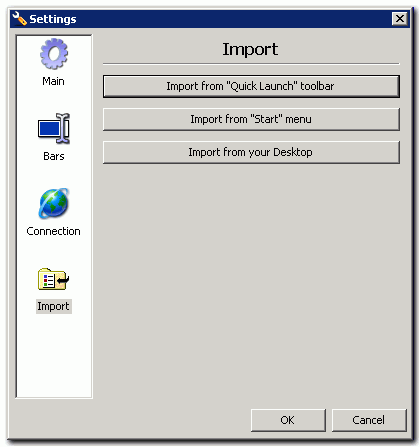
Import programs
For the first time you are invited to import programs.
Imports can be made (causing dialogue settings tab Import) from:
- panel "Quick Launch";
- Start menu;
- desktop.
Import implements into empty buttons, starting from the upper left bar.
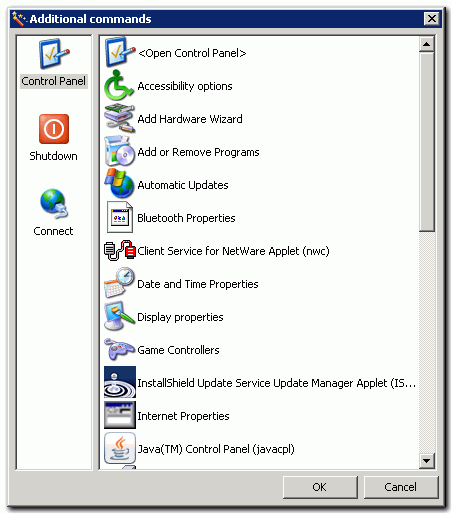
Additional commands
By pressing for dialog "Properties" the button "Additional commands", a dialog of additional commands opens.
Options
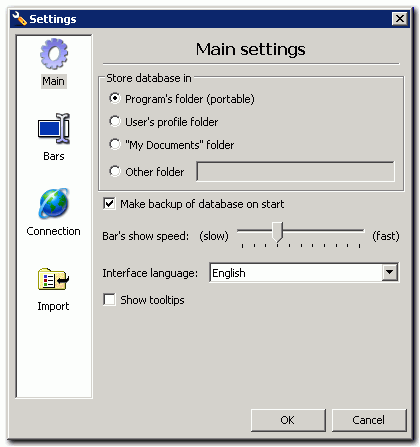
Main options
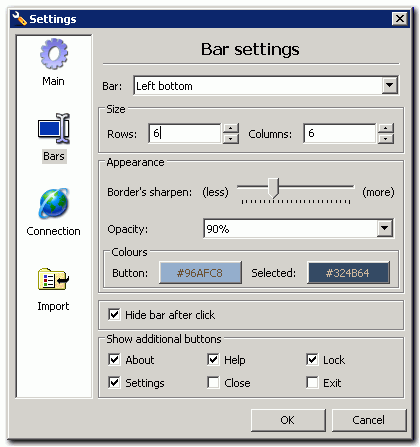
Bar's options
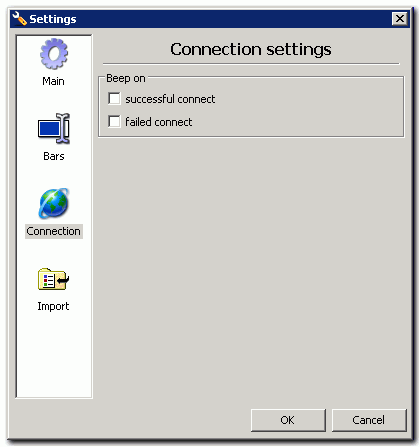
Connection's options
Options => import
see Import
